Extracting Tables Tutorial

About 10 minutes
In this tutorial, we will use DataSeer to extract a table from a P&ID. We will then export the extracted data from DataSeer.
This tutorial is divided into the following sections:
- Learning Objectives - things you will know how to do after completing this tutorial.
- Setup - set up necessary before you get started.
- Instructions - instructions on how to complete the tutorial.
- Finishing Up - challenges and further reading for after the tutorial.
Learning Objectives
After completing this tutorial, you will know how to:
- Add projects and upload diagrams to them
- Extract table data from diagrams
- Export data from DataSeer for use in other documents
Setup
Before you start this tutorial, you must do the following:
- Contact your system administrator to get a DataSeer user account
Instructions
Now let's get started...
1. Obtain a P&ID
Store a P&ID containing a table in PDF format to your local drive to be uploaded to DataSeer.
2. Add a Project
We now need to create a new project in DataSeer and upload your P&ID to it.
- Access DataSeer.
- Click NEW PROJECT.
- In Project Name, enter "Table Tutorial".
- Click the upload box and select the your P&ID from your local drive.
-
Click CREATE.
DataSeer uploads the P&ID to a new project. Once the upload is complete, the new project displays under Your Projects.
-
Click LAUNCH.
The project opens and your P&ID displays in the Diagram Viewer.
3. Extract the Table Data
The next step is to extract data from the table on the P&ID.
Important
This is where you get to see the power of DataSeer in action.
- Open the Tables tab.
- Move to page 3.
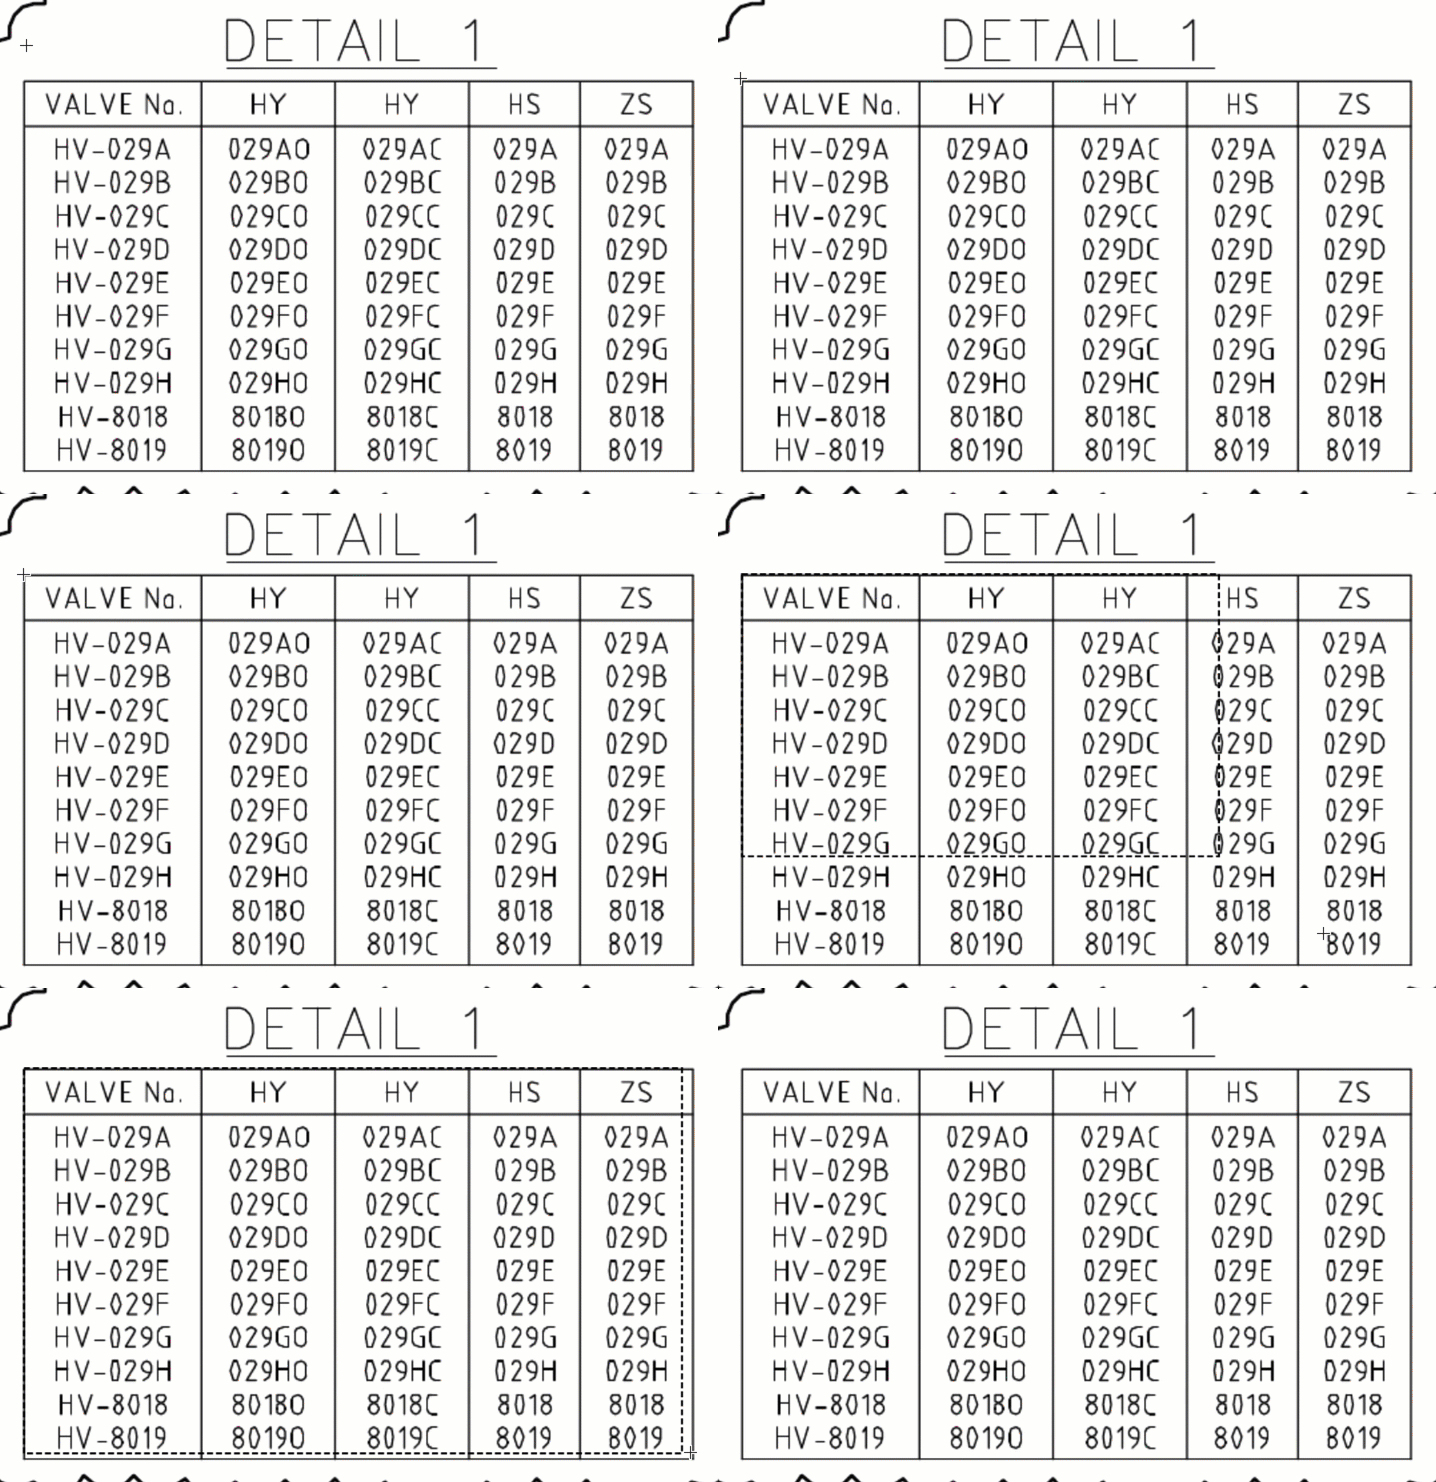
- Zoom in on a table contained within your P&ID.
- Click on the toolbar.
-
Draw a box around the table.

Tip
For best results, zoom in as far as you can with the table still in view and draw a tight box around the table. Selecting more area than necessary will affect matching accuracy.
-
Complete the following:
- Select Table without grid lines.
- In Assign a type, enter "Detail Table".
- In Name your table, enter "1".
-
Click Extract.
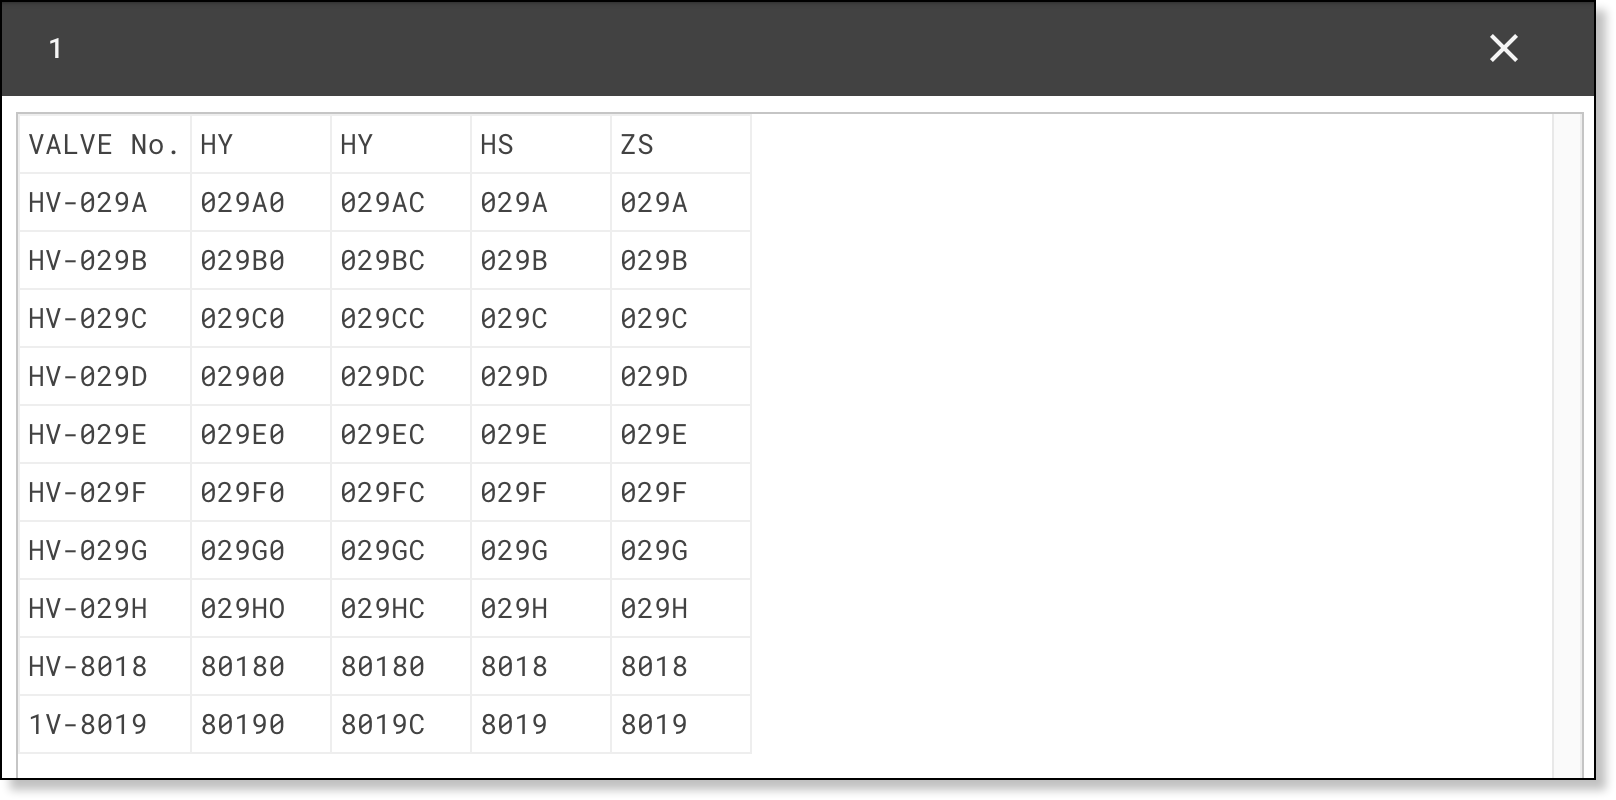
DataSeer extracts the table. A table preview displays once the process is complete.

-
Click X in the top right corner of the table preview.
4. Export the Data
The next step is to export the table data you extracted.
-
Click on the Navigation bar.

The Project Library displays.
-
Click on the project and select Download Table Output.
DataSeer downloads a ZIP file to the Downloads folder for your browser. This file contains a CSV file for the table from which you extracted data.
-
Open the CSV file in a spreadsheet app, such as Microsoft Excel or Google Sheets.
You can now add the data to project documents as necessary.
Finishing Up
Congratulations! You've now extracted a table from a P&ID. We hope you now understand how DataSeer can drastically reduce the time it takes to extract table data from diagrams.
Want to expand your knowledge further? Try the following:
Recommended Reading
Read the following articles to learn more about the features used in this tutorial.
| Feature | Article |
|---|---|
| Extracting tables | Extracting Tables |
| Exporting table data | Exporting Data |