Extracting Symbols

DataSeer offers multiple methods for users to extract symbol data from a projects.
Extracting Symbols Automatically
DataSeer can extract both common symbols and custom symbols from diagrams automatically. This functionality is accessible by uploading PDFs to the Project Library.
Tip
This approach is useful when you need to extract all symbols (e.g. material take offs).
There are two steps to extracting symbols automatically:
The first step is to choose the
- Click UPLOAD FILES and select Create a new project.
-
Give your project a name and upload PDFs of diagrams:
- Drag and drop
PDFsinto the upload box. - Click the upload box and select the
PDFs.
Tip
You can upload up to 100 pages of
PDFsper project. - Drag and drop
-
Click UPLOAD.
-
Select one of the following options:
- To extract common symbols automatically, click Select Options under Use the Default P&ID Symbol Library and select the symbols to extract.
- To extract symbols automatically based on a template, click Use a Template under Use a template and click Select next to the desired template and select the symbols to extract.
-
Review the thumbnails to decide the pages you want to add:
- Click a thumbnail to remove that page from the project.
- Click a thumbnail again to re-add that page.
-
Click PROCESS.
DataSeer uploads the diagrams to the project and applys the selected symbol labels to the data.
Tip
The LAUNCH button displays once the upload process is complete.
-
Click LAUNCH.
The final step is to review the symbols that Auto-Label extracted. You can approve/reject symbols and make adjustments as necessary.
- Open the project.
-
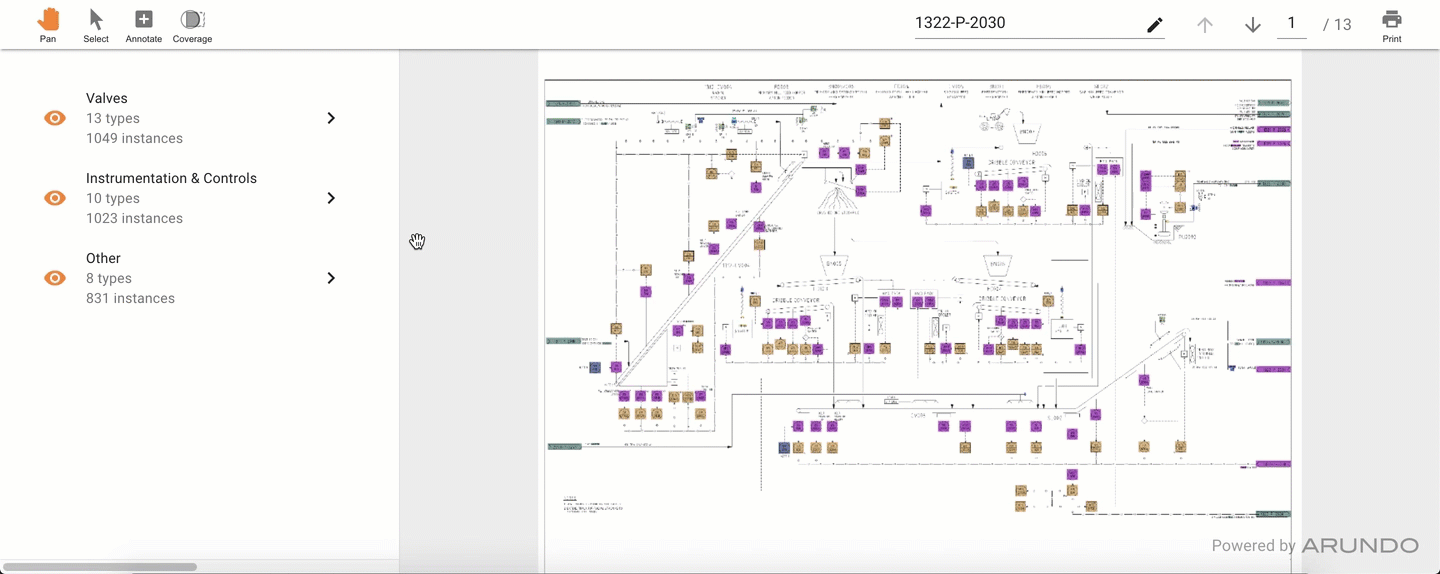
Review the diagrams:
Symbols identified by Auto-Label display with color highlights over them.
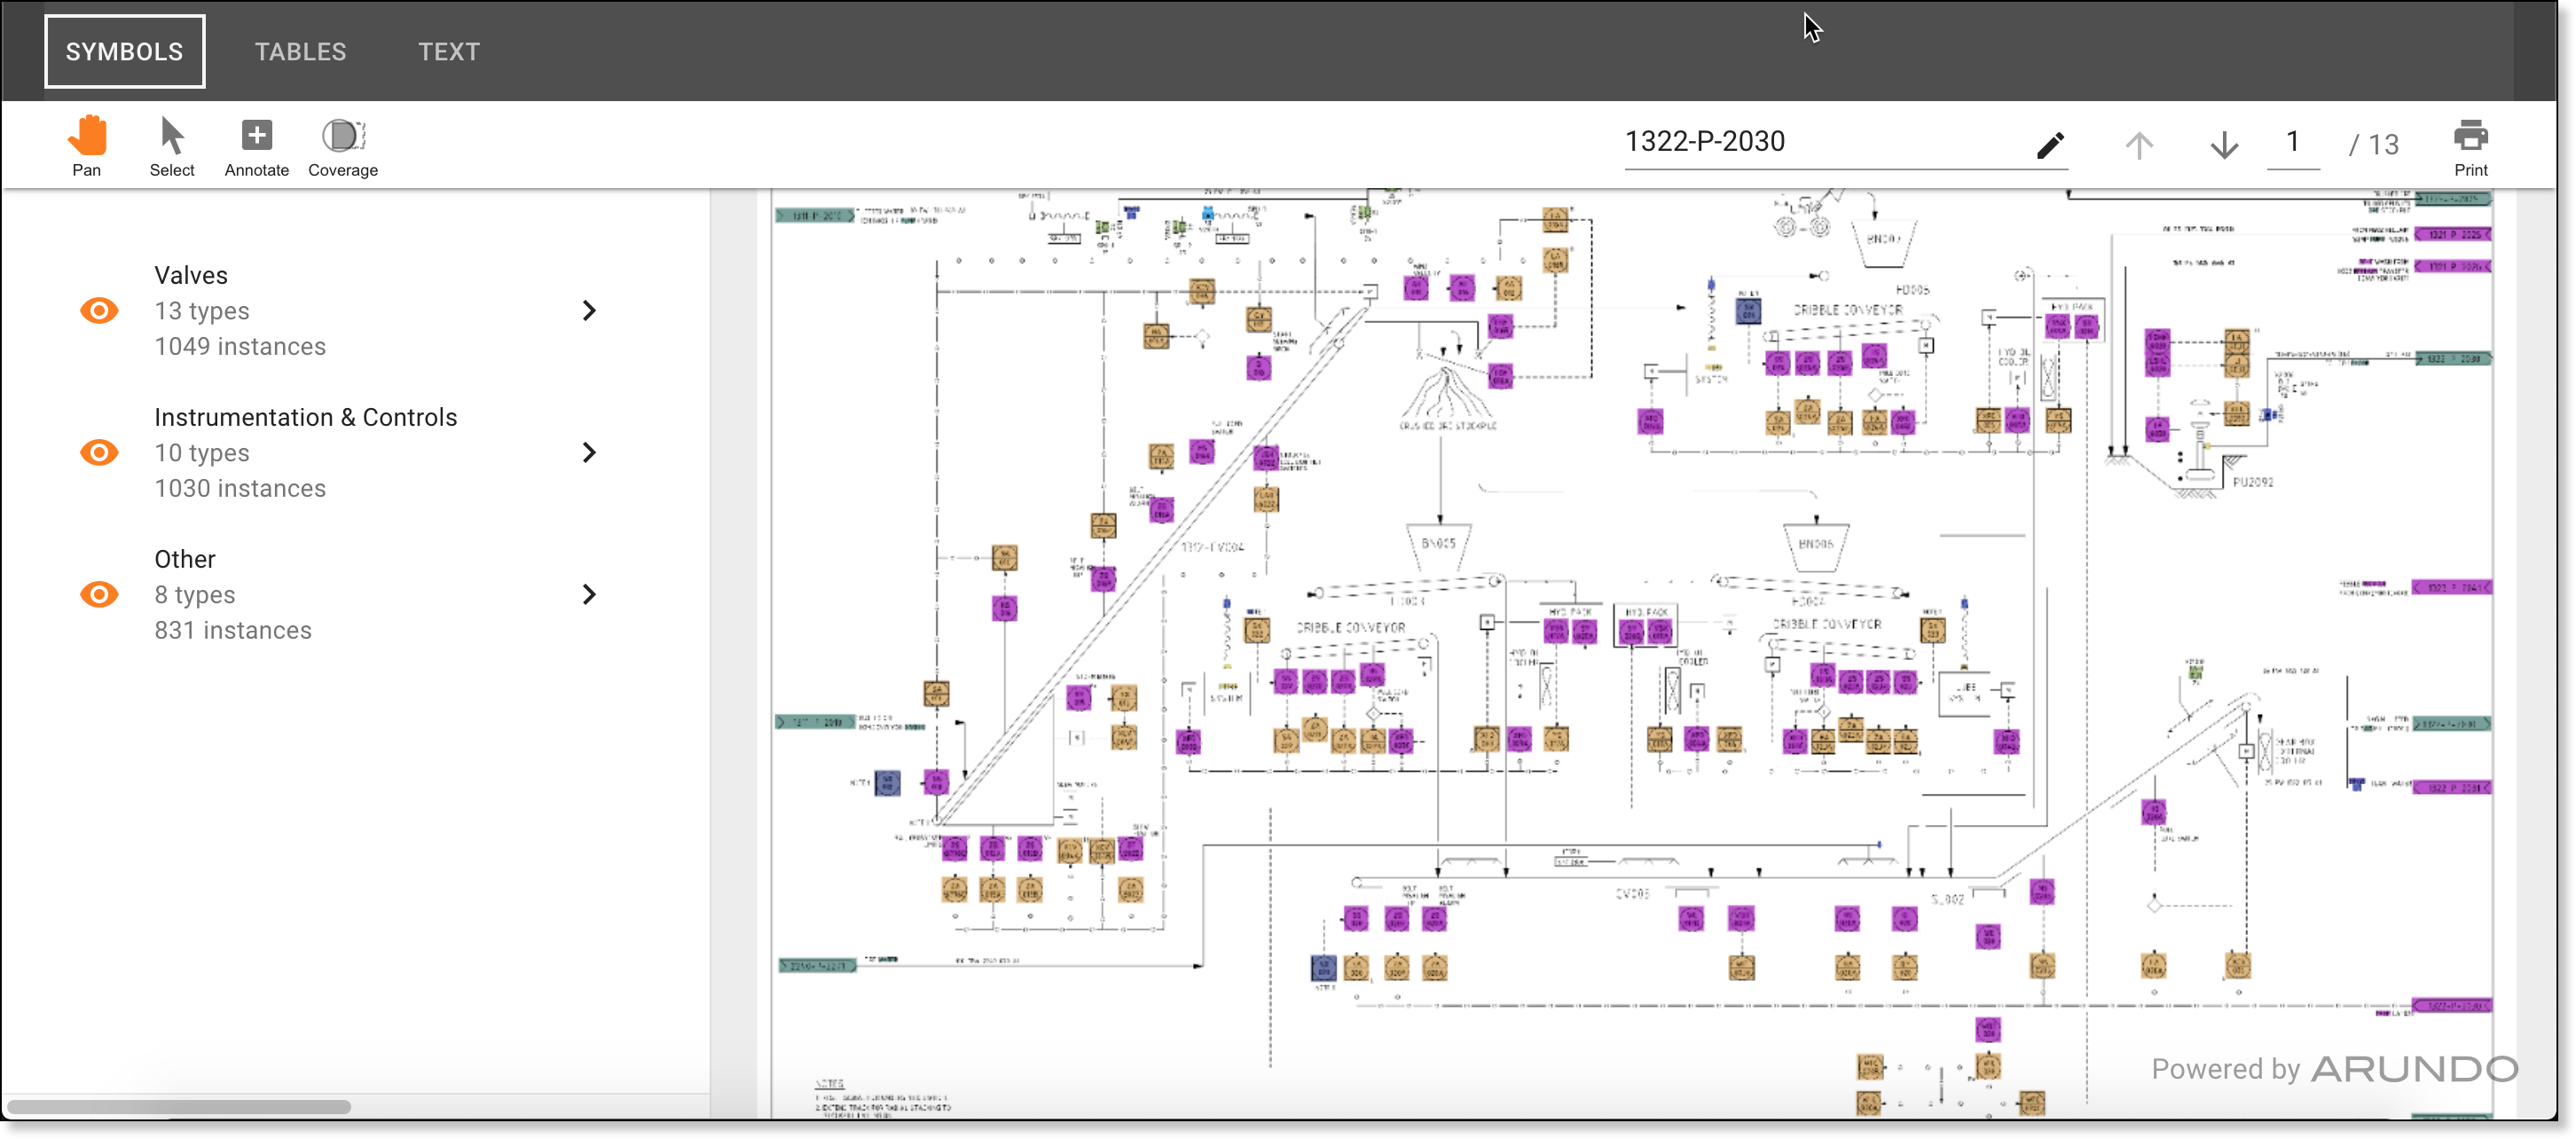
-
Locate missing symbols:
Toggle the color highlights to locate symbols not identified by Auto-Label.
Click
 on the toolbar.
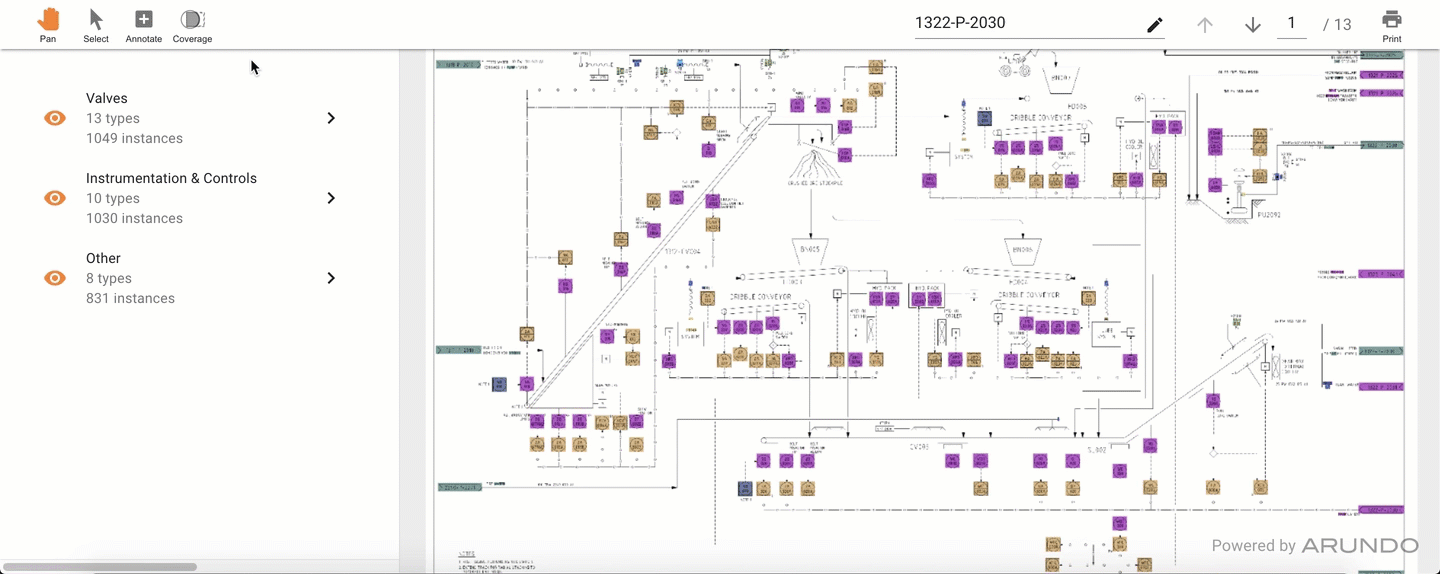
Click next to that class on the sidebar.

-
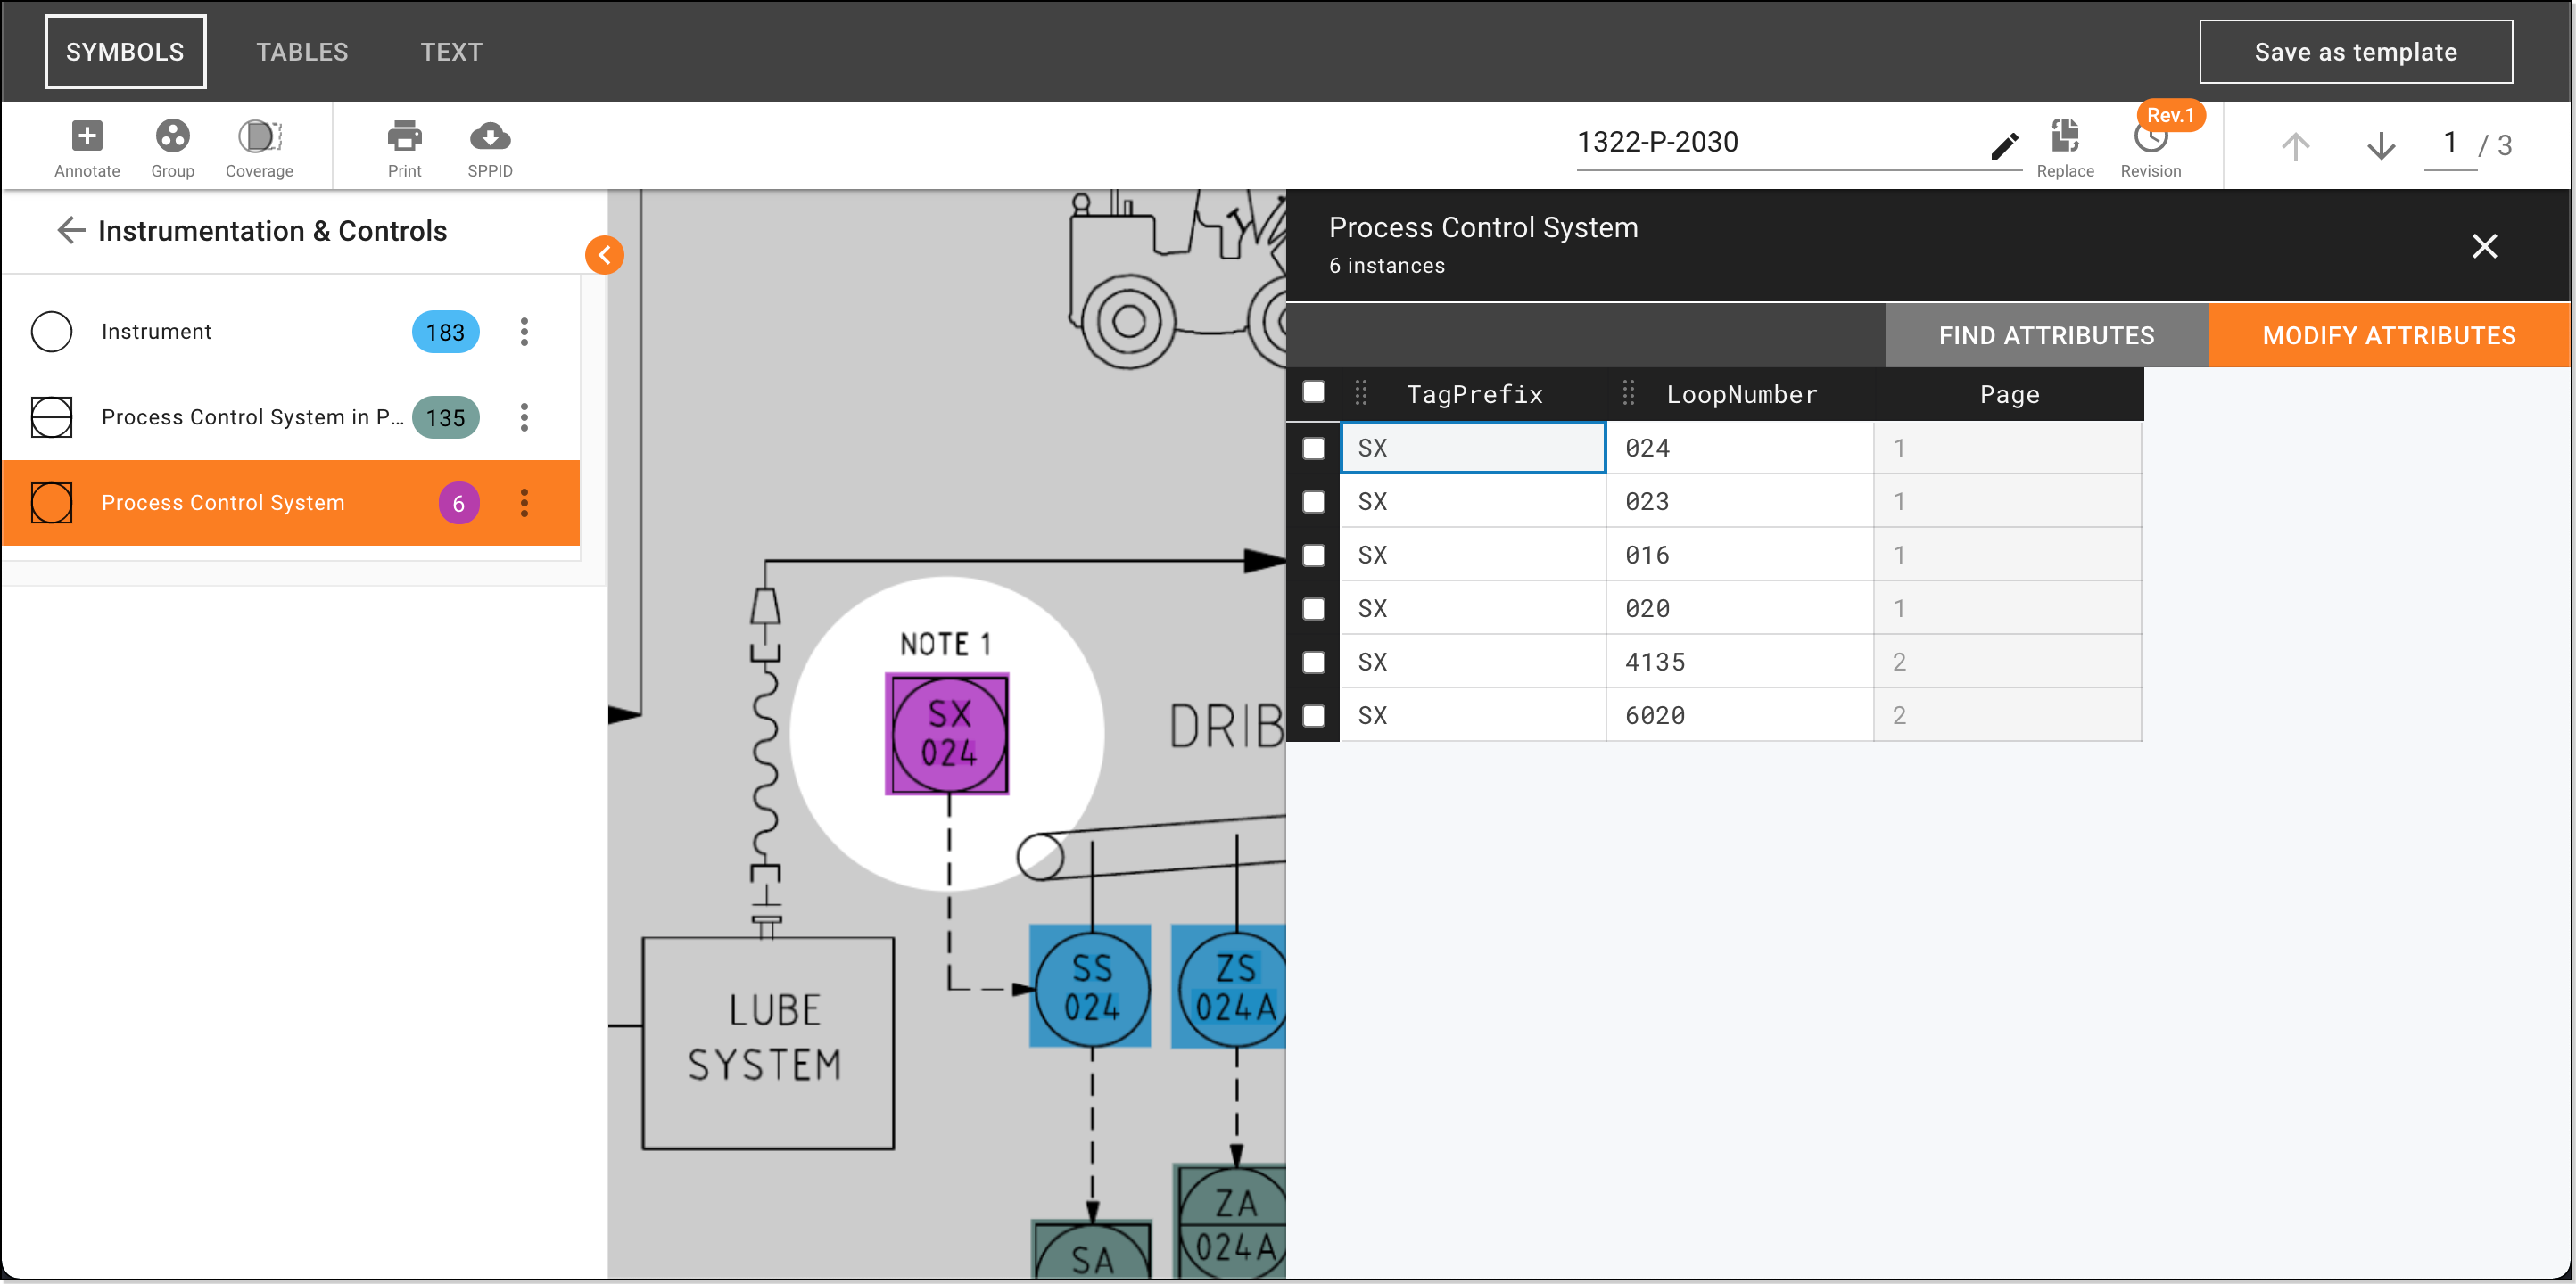
Extract text attributes:
- Select a symbol class on the sidebar:
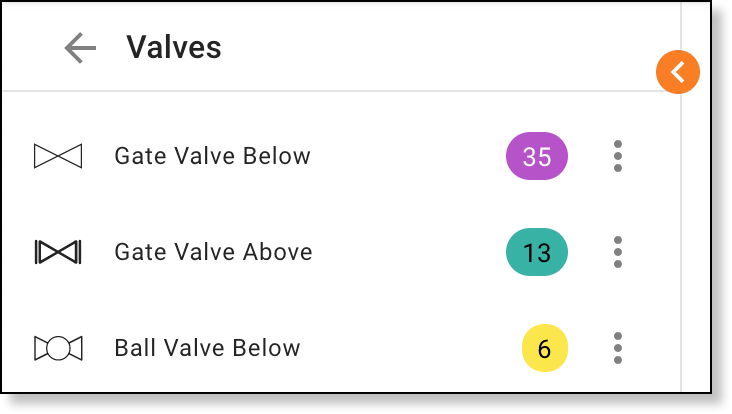
- Valves
- Instrumentation & Controls
- Other
- Select the symbol type.
- Click Yes.
-
Enter keywords or regex patterns to help DataSeer find the correct data.
-
Click OK.
- Accept or reject the suggestions.
- Click SAVE.
- Repeat steps a to g for each symbol type.
- Select a symbol class on the sidebar:
-
Make adjustments as necessary:
- Select the symbol class on the sidebar:
- Valves
- Instrumentation & Controls
- Other
- Select the symbol type.
- Use the Attributes Editor to make changes:
- To edit the data in a cell, click the cell, update the value, and press Enter
- To clear the data in a cell, select the cell or row and press Del
- Select the symbol class on the sidebar:
- Valves
- Instrumentation & Controls
- Other
- Select the symbol type.
- On the Attributes Editor, select the checkbox next to the symbol.
- Click at the top of the Attributes Editor.
- Select the symbol class on the sidebar:
Extracting Custom Symbols
You can also get DataSeer to extract custom symbols from diagrams.
Tip
This approach is useful when you need to extract a symbol that isn't in the symbol library OR the performance of the default symbol's detection is poor.
There are two steps to extracting custom symbols:
The first step is to extract symbols from the diagrams.
- Open the project.
- Open the Symbols tab.
- Open a diagram and locate a symbol you want to extract.
- Click on the toolbar.
-
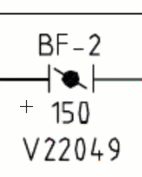
Zoom in as far as you can and draw a tight box around the symbol.
Tip
Selecting more area than necessary affects matching accuracy, so don't include any ID numbers next to the symbol. You can always record ID numbers during the review process.
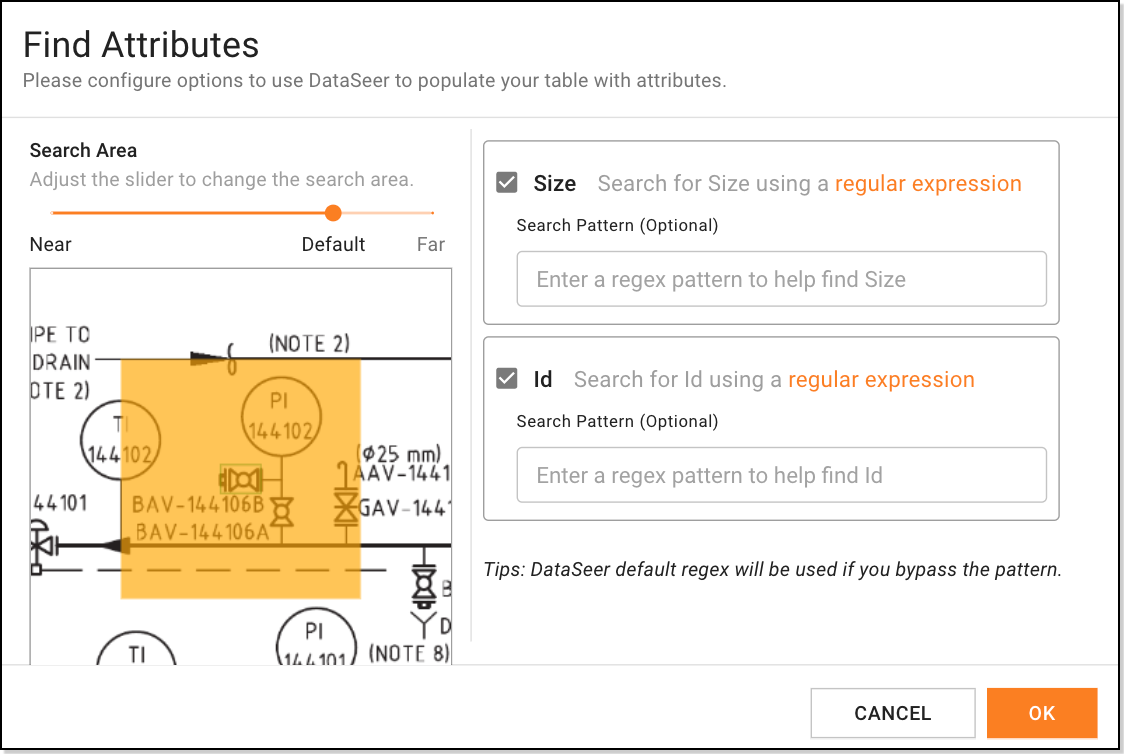
The Search Options window displays.
-
Select options for your search:
- Under Page selection, select where to look for matching symbols.
-
Select Detect horizontal & vertical orientation to search for symbols at both horizontal and vertical orientations.
Tip
This feature is useful when searching for valves, as they are often shown at both horizontal and vertical orientations.
-
Click SEARCH
-
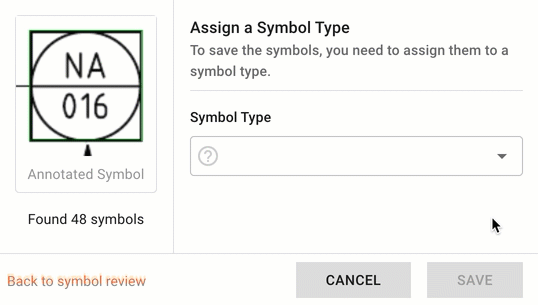
Assign the symbol to a new or existing symbol type, select a symbol icon, and click SAVE.
-
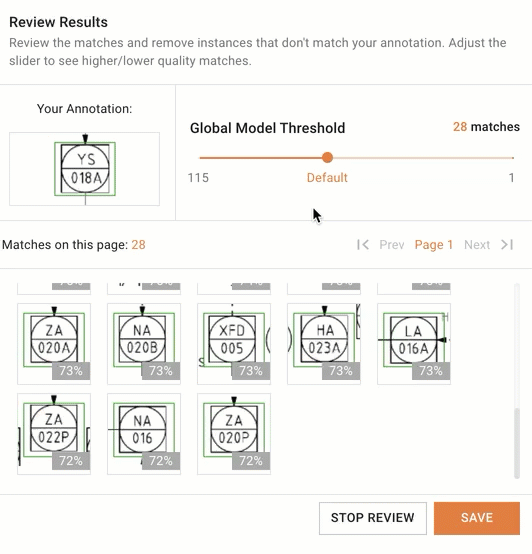
Review the matching symbols:
The Review window displays with a list of matches seperated by page. Each match will display a confidence of match in the form of a percentage in the bottom right of the symbol's thumbnail.
Info
- To approve all matches, click SAVE.
- To approve the matches on this page and move to the next page with matches, click Next to continue the review.
- To adjust the quality threshold used to find matches, adjust the Global Model Threshold slider.
- To reject a match, move the mouse over the thumbnail and click once.
- To reject a range of symbols, use "shift + click" on two symbols. All symbols within that range will match the selected symbols' status.
- To end the review at any time, click STOP REVIEW.
Non-rejected symbols will be given the symbol type selected in the prior step. Subsequent searches of the same symbol will utilize approved matches to improve the confidence scoring of unlabeled data.
Tip
- Matches are grouped by page so if you want to review every match, make sure you look at the matches found on every page.
- The Global Model Threshold will be the labelling threshold applied during the automatic extraction process if the custom symbol is added to a Template.
-
Select whether you want DataSeer to look for symbol attributes:
- Select the checkboxes next to the attributes you want to extract.
- Enter keywords or regex patterns to help DataSeer find the correct data.
- Click YES.
- Accept or reject the suggestions.
- Click SAVE.
- Click NO.
The final step is to review the symbols extracted. You can add attributes for those symbols and make adjustments as necessary.
-
Review the attributes for each item:
-
Edit symbol attributes:
-
Select the symbol class on the sidebar:
- Valves
- Instrumentation & Controls
- Other
-
Select the symbol type.
-
Use the Attributes Editor to make changes:
- To edit the data in a cell, click the cell, update the value, and press Enter
- To clear the data in a cell, select the cell or row and press Del
-
-
Delete mislabeled symbols:
- On the Attributes Editor, select the checkbox next to the symbol.
- Click at the top of the Attributes Editor.
Managing Symbols
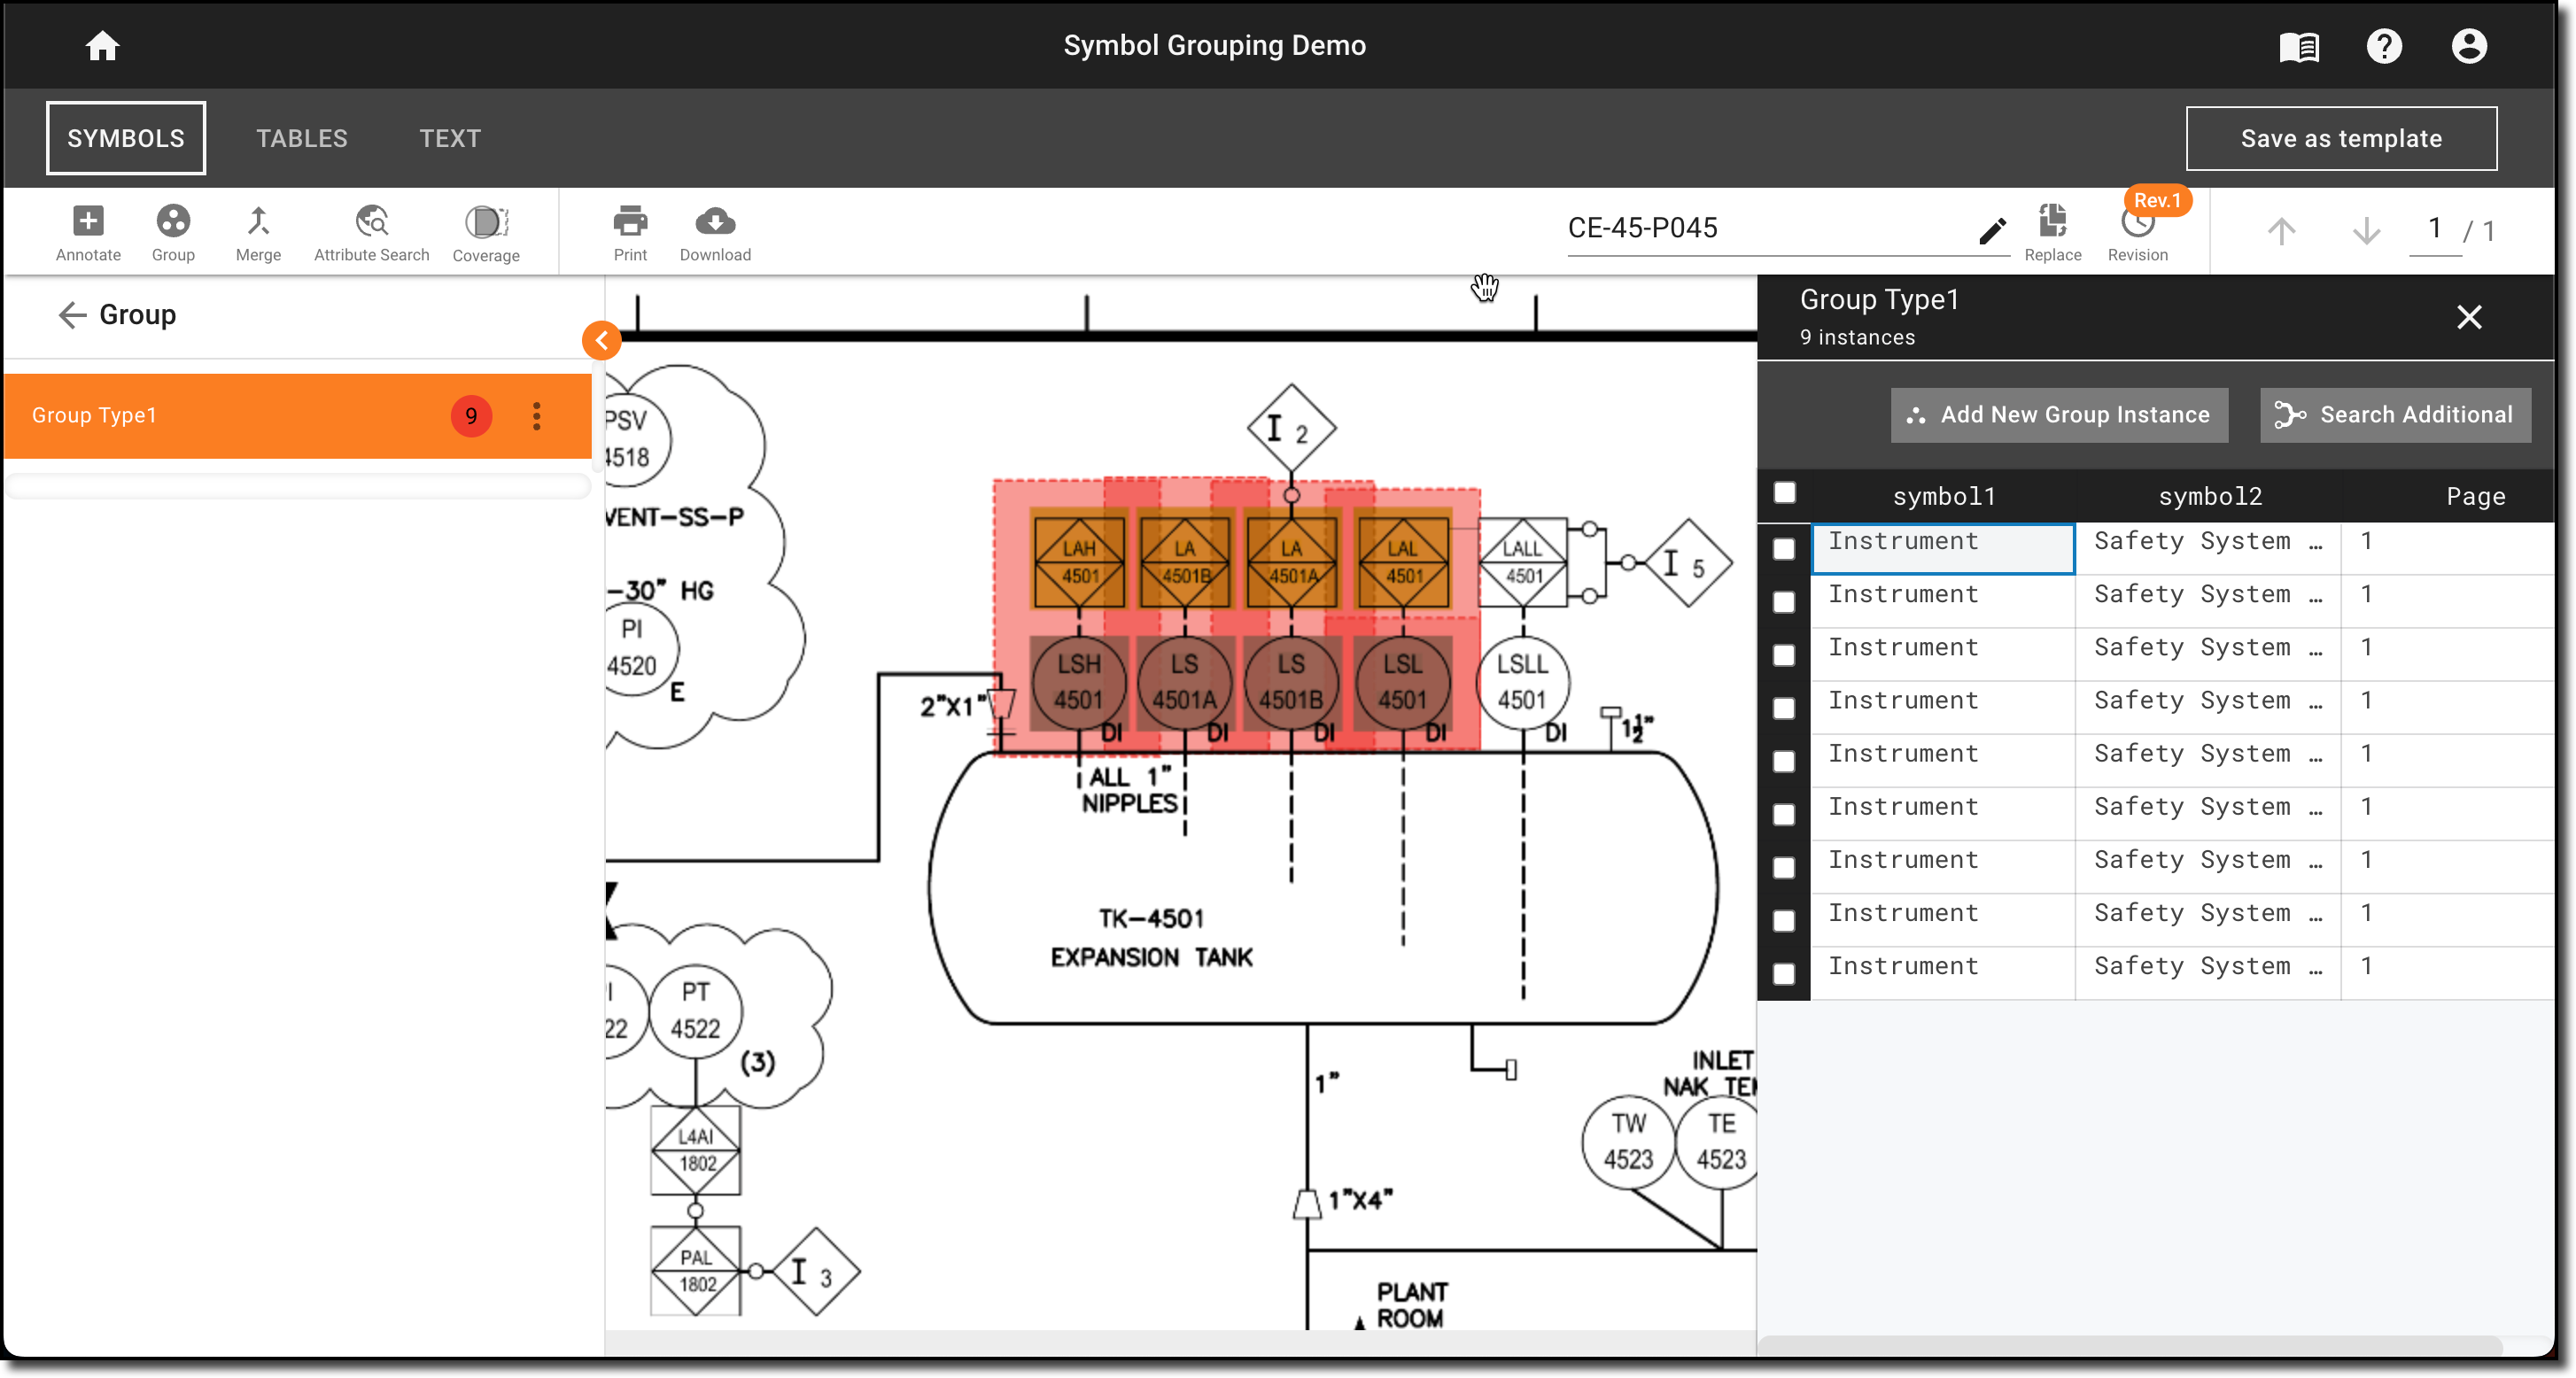
Grouping Symbols
The Grouping feature lets you group symbols together. This meta classification allows you to represent inter symbol relationship within DataSeer's symbol-centric data hierarchy.
Info
- Group Types are intended to be label that represent the intersymbol relationship the user wishes to document. These will be displayed in the left hand navigation menu under the Groups class.
Group Instances are referring to each unique set of symbols within a Group Type. These data points will be listed with a table accessible by clicking on a Group Type.
Here's how to create & modtify Group Types and Instances together:
- Open the project.
- Open the Symbols tab.
- Open a diagram with symbols you need to group.
- Click on the toolbar.
-
Zoom in and draw a box around the symbols you want to group.
-
Enter a name for the group.
Info
Adding a group to your project will add a "Group Type" Class within the symbols sidebar. Access your groups by exploring the Group class tab.
- Open an existing group type within the Group tab of the sidebar.
- Click Add New Group Instance in the Group Editor header to enable group additions.
- Select the symbols you want to add as a new group instance
- Open an existing group type within the Group tab of the sidebar.
- Select Group Instances to delete by clicking the checkmark box in the left hand column.
- Click Delete in the Group Editor header to remove the group instances from the Group Type.
- Open an existing group type within the Group tab of the sidebar.
- Click Search Additional in the Group Editor
- Open an existing group type within the Group tab of the sidebar.
- Click Add in the Group Editor header to enable group additions.
- Select the symbol you want to add to the current group instance.
- Open an existing group type within the Group tab of the sidebar.
- Right click on the cell representing the symbol intended to be deleted and click Delete in the resulting popup.
Info
- DataSeer embeds a Group column in the output file for any classes captured by the grouping and will track Group Names within.
Merging Symbols
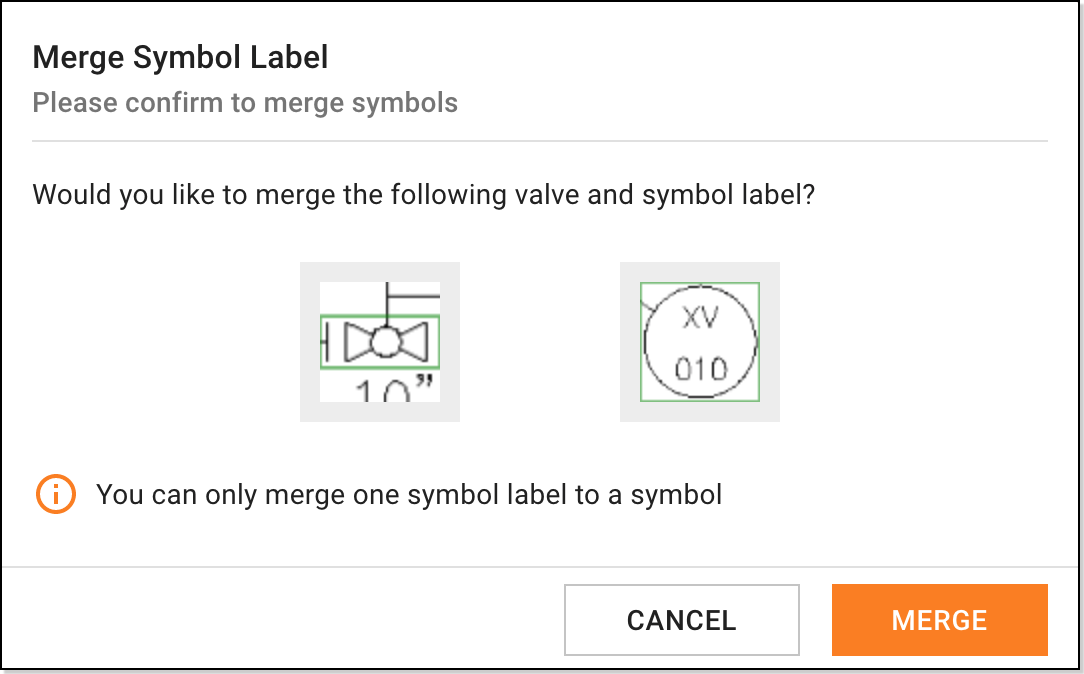
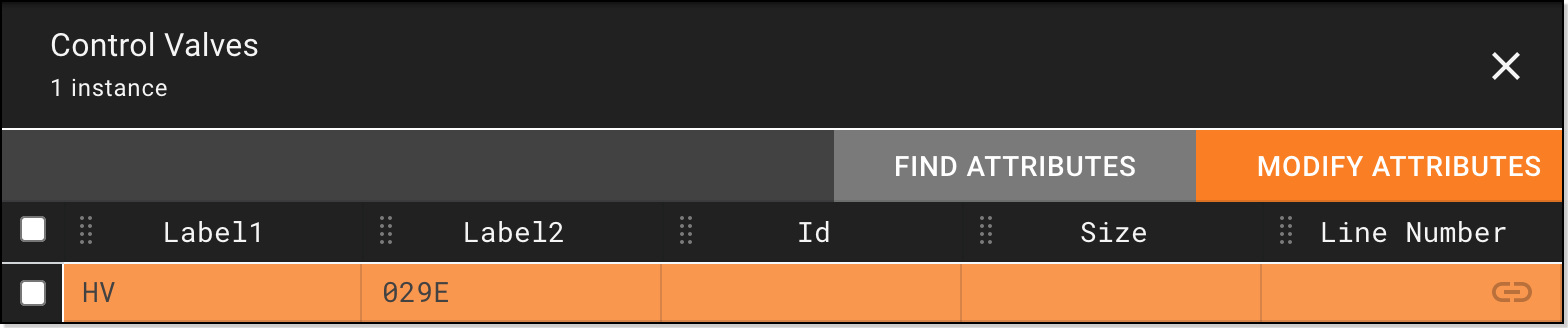
The Merge feature lets you combine two symbols into a single symbol. This makes it easier to handle situations where DataSeer identified parts of the same item as separate symbols, such as control valves and their bubble labels.
Here's how to merge symbols together:
- Open the project.
- Open the Symbols tab.
- Open a diagram with symbols you need to merge.
- Click on the toolbar.
-
Double-click the symbol to use as the primary symbol.
Tip
This is typically a valve symbol.
-
Double-click the symbol to merge with the primary symbol.
Tip
This is typically a circular instrument symbol.
-
Click MERGE.
DataSeer merges the symbols together and adds the data from the second symbol as attributes for the primary symbol.
-
Adjust the symbol attributes as necessary.
Changing a Symbol Color
You can change the color of the highlight that displays over extracted symbols on diagrams. This gives you greater flexibility and makes it easier to identify certain items.

Here's how to change the highlight color for a symbol type:
- Open the project.
- Open the Symbols tab.
-
Select the symbol class on the sidebar:
- Valves
- Instrumentation & Controls
- Other
-
Click on the symbol type and select Change Color.
- Select a new color.
Renaming a Symbol Type
You can rename the symbol types used to group symbols on the sidebar. This gives you flexibility to change symbol names to match your naming conventions.
Example
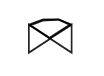
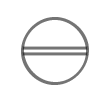
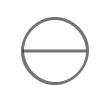
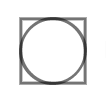
Here are some symbol types for valves:
Here's how to rename a symbol type:
- Open the project.
- Open the Symbols tab.
-
Select the symbol class on the sidebar:
- Valves
- Instrumentation & Controls
- Other
-
Click on the symbol type and select Rename Type.
- Enter a new name.
- Click CONFIRM.
Reassigning the Symbol Type
You can reassign the symbol type for specific symbols or all symbols. This lets you make adjustments to projects where symbols were classified incorrectly.
Here's how to reassign specific symbols to a new type:
- Open the project.
- Open the Symbols tab.
-
Select the symbol class on the sidebar:
- Valves
- Instrumentation & Controls
- Other
-
Select the symbol type.
The Attributes Editor displays with a list of extracted symbols.
-
Select the check box next to the symbols to reassign.
- Click at the top of the Editor.
- Select an existing symbol type or create a new symbol type.
- Click CONFIRM.
Here's how to reassign all symbols to a new type:
- Open the project.
- Open the Symbols tab.
-
Select the symbol class on the sidebar:
- Valves
- Instrumentation & Controls
- Other
-
Click on the symbol type and select Reassign Type.
- Select an existing symbol type or create a new symbol type.
- Click CONFIRM.
Deleting a Symbol
Here's how to delete a symbol that you extracted by mistake:
- Open the project.
- Open the Symbols tab.
-
Select the symbol class on the sidebar:
- Valves
- Instrumentation & Controls
- Other
-
Select the symbol type.
The Attributes Editor displays with a list of extracted symbols.
-
Select the checkbox next to the symbol.
- Click at the top of the Editor.
- Click CONFIRM.
Deleting a Symbol Type
Here's how to delete a symbol type from the sidebar:
- Open the project.
- Open the Symbols tab.
-
Select the symbol class on the sidebar:
- Valves
- Instrumentation & Controls
- Other
-
Click on the symbol type and select Delete Entity Type.
-
Click CONFIRM.
Tip
- The symbol type's Attributes Editor needs to be collapsed for deletion to occur.
Symbol Library
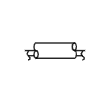
DataSeer's default symbol library allows the platform to recognize common Piping & Instrument symbols. Here are these symbols:
| Symbol | Name |
|---|---|
 | Angle Valve |
| Arrow Valve | |
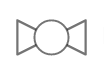 | Ball Valve |
 | Bleeder Valve |
 | Butterfly Valve |
 | Check Valve |
 | Diaphragm Valve |
 | Four Way Valve |
 | Gate Valve |
 | Globe Valve |
 | Needle Valve |
 | Three Way Valve |
| Symbol | Name |
|---|---|
 | Computer Function in Primary Location (Panel) |
 | Instrument |
 | Instrument in Auxiliary Location (Behind Panel) |
 | Instrument in Auxiliary Location (Panel) |
 | Instrument in Primary Location (Behind Panel) |
 | Instrument in Primary Location (Panel) |
 | Process Control System |
 | Process Control System in Primary Location (Panel) |
 | Rotameter |
 | Safety Instrumented System in Primary Location (Panel) |
 | Safety System |
 | Safety System in Primary Location (Panel) |
 | Special Instrument |
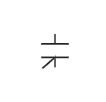
| Symbol | Name |
|---|---|
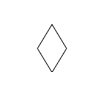 | Diamond |
 | Diaphragm |
 | Flange |
 | Heat Tracer |
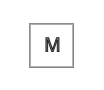 | Magnetic |
 | OPC |
 | Reducer |