Managing Projects

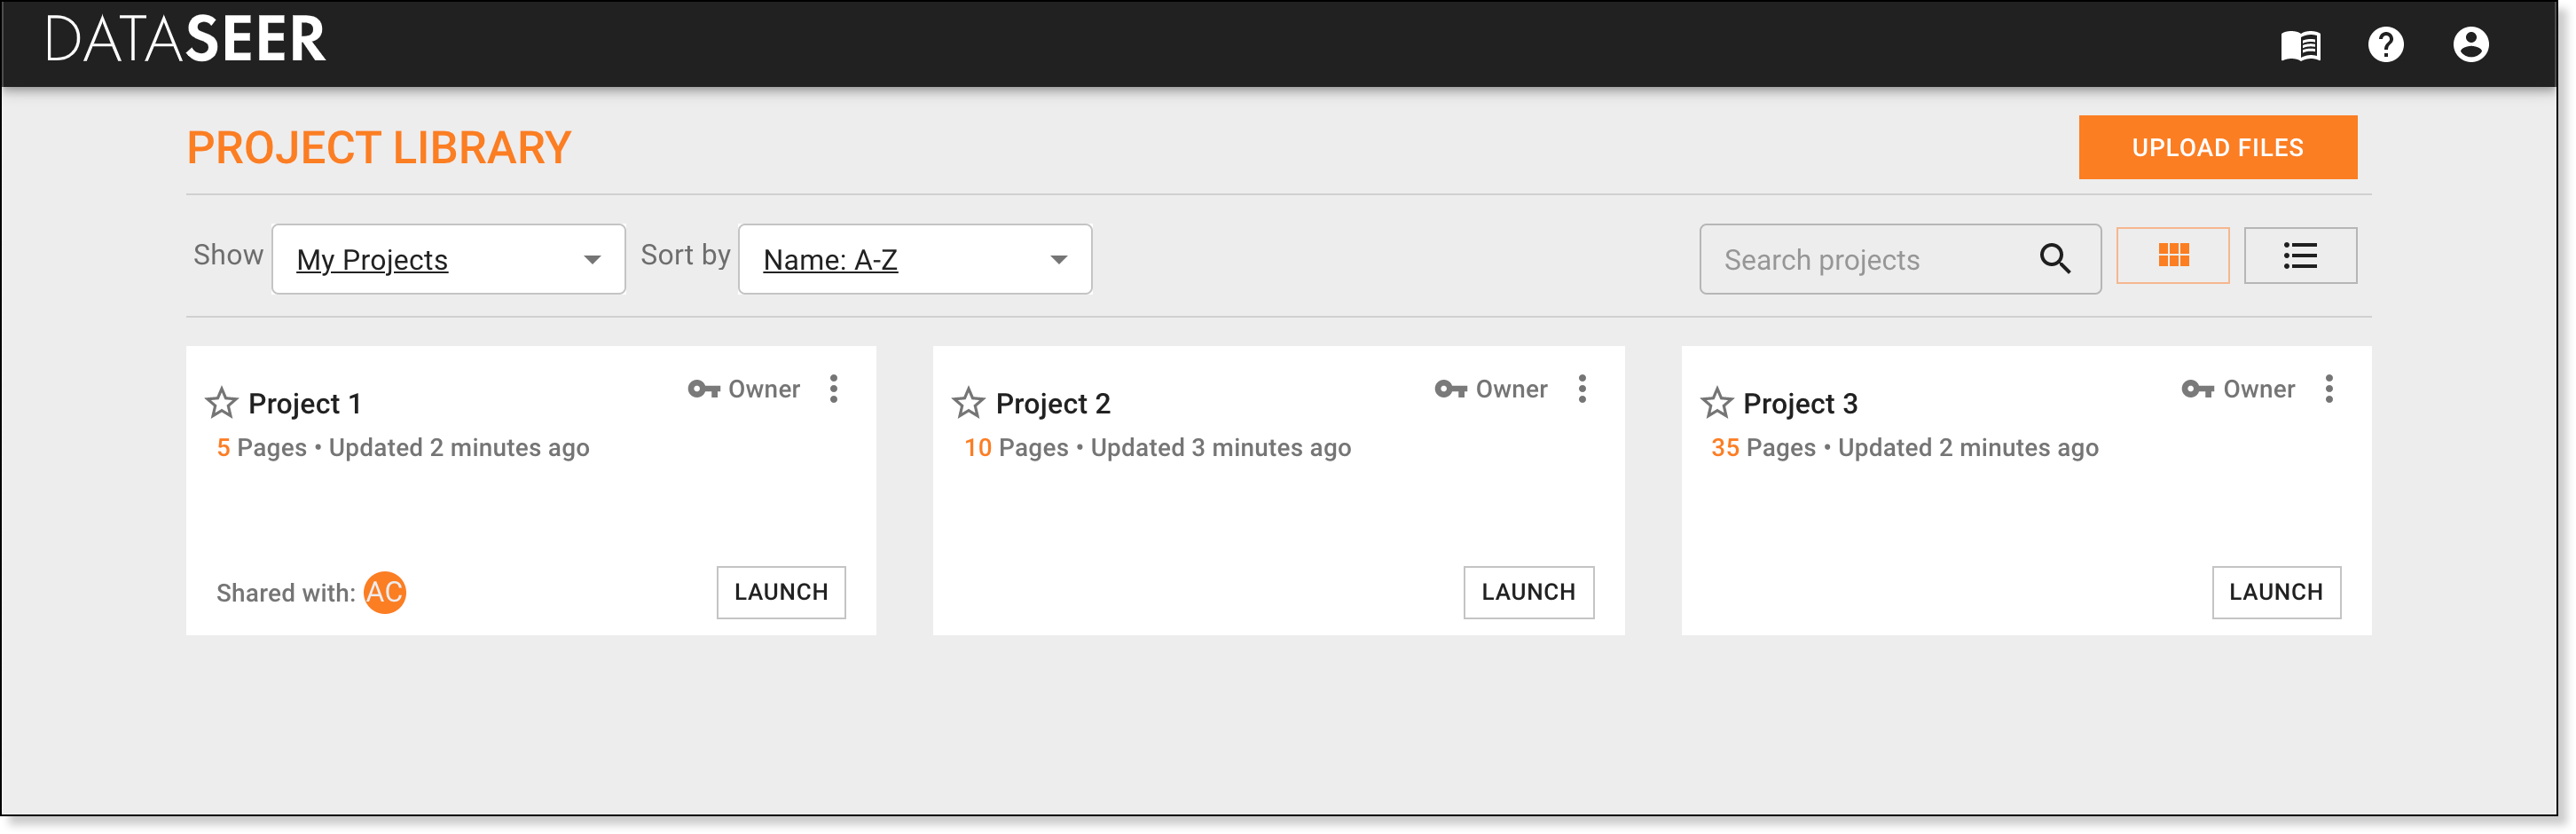
The Project Library displays all of the projects you added to DataSeer. Each project contains pages featuring the diagrams, data sheets, and documents you uploaded.
The following guides explain how to manage your projects.
Getting Around
The Project Library has a number of features that make organizing and locating projects easier.
Use the Show filter to change the projects that display.

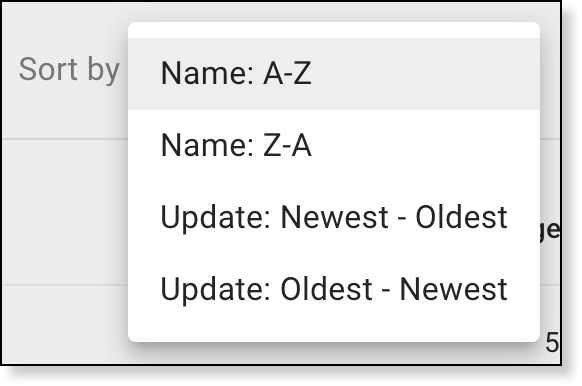
Use the Sort by control to change the order in which projects display.
Use the Search field to do a keyword search for specific projects.

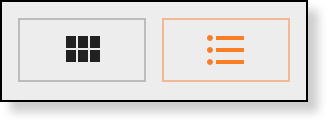
Select one of the display options to change the projects list to a tile view or list view.
-
Select to display the tile view.
-
Select to display the list view.
Select next to a project to add it to your favorites list. Favorite projects also display at the top of your project list for easier access.
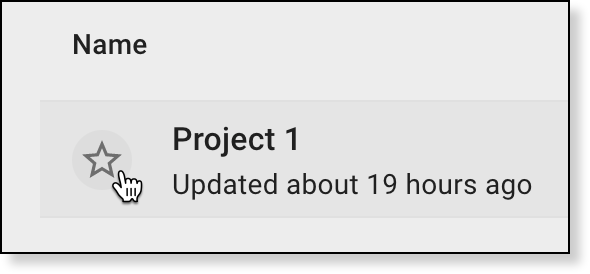
You can view your favorites list by selecting "Favorites" in the Show field.
Adding a Project
Here's how to add a project and upload diagrams to it:
- Click UPLOAD FILES and select Create a new project.
-
Give your project a name and upload PDFs of diagrams:
- Drag and drop
PDFsinto the upload box. - Click the upload box and select the
PDFs.
Tip
You can upload up to 100 pages of
PDFsper project. - Drag and drop
-
Click UPLOAD.
-
Complete the following based on the scenario:
- To extract common symbols automatically, click Select Options under Use my own configuration and select the symbols to extract.
- To extract symbols automatically based on a template, click Select Template under Use a template and click Select next to the template to use and deselect any symbols you want DataSeer to omit from extraction.
- To bypass automatic extraction and proceeed to manual extraction of custom symbols, tables, or text, click Select Options and move on to the next step.
-
Review the thumbnails to decide the pages you want to add:
- Click a thumbnail to remove that page from the project.
- Click a thumbnail again to re-add that page.
-
Click PROCESS.
The Project Library displays and DataSeer uploads the diagrams to the project.
Tip
The LAUNCH button displays once the upload process is complete.
-
Click LAUNCH to start work on the project.
Opening a Project
Here's how to open an existing project:
- Click LAUNCH on the project.
Adding Pages to a Project
You can add pages to existing projects. This lets you handle situations where you receive new documents after the start of a project, and saves you from having to split work across multiple projects.
Here's how to add pages to a project:
- Click UPLOAD FILES and select Add to an existing project.
- Select the project in which to add the documents.
-
Select the documents to add:
- Drag and drop
PDFsinto the upload box. - Click the upload box and select the
PDFs.
Tip
You can upload up to 100 pages of
PDFsper project. - Drag and drop
-
Click UPLOAD.
-
Complete the following based on the scenario:
- To extract common symbols automatically, click Select Options under Use my own configuration and select the symbols to extract.
- To extract symbols automatically based on a template, click Select Template under Use a template and click Select next to the template to use.
- To extract custom symbols, tables, or text, click Select Options and move on to the next step.
-
Review the thumbnails to decide the pages you want to add:
- Click a thumbnail to remove that page from the project.
- Click a thumbnail again to re-add that page.
-
Click PROCESS.
DataSeer uploads the documents to the project.
Important
When you upload new documents to a project, collaborators won't be able to access the project until the upload process is complete.
The LAUNCH button displays once the upload process is complete.
-
Click LAUNCH to start work on the new pages.
Renaming a Project
Here's how to rename an existing project:
- Click on the project and select Rename Project.
- Type the new name.
- Click CONFIRM.
Deleting a Project
Here's how to delete a project:
- Click on the project and select Delete Project.
-
Click CONFIRM.
DataSeer removes the project and its diagrams are no longer accessible.